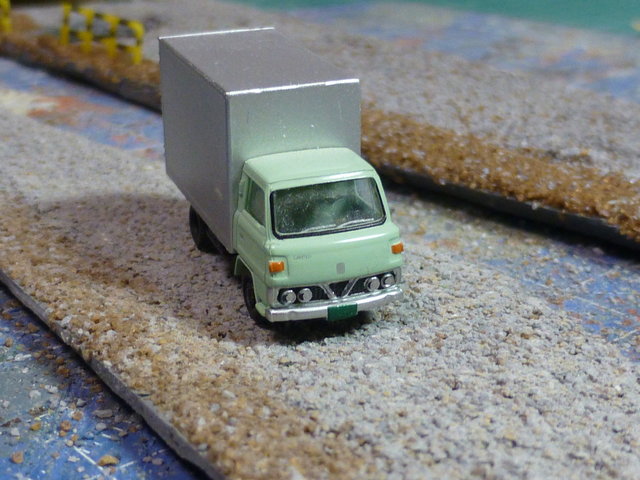
Friday, September 23, 2022 3:57 AM
A while back (indeed, half-a-decade ago now) I introduced an idea for S-Bahnhof Engelscher Markt which at the time basically consisted of a few scenic elements temporarily put together, and a random grab-bag of ideas. A lot of time passed, mainly getting other bits of the layout working, and recently I finally got far enough around the layout to have a crack at this properly.
A few pictures of the current state:
")
Saturday, February 15, 2020 10:11 AM
Around this time last year I was working on extending the hilly scenery on the front right corner of the layout.
Fun fact: the scenic section in the centre, above the lower portal, is adapted from my first ever attempt at scenenry by doing a "dry run" on a spare piece of board.
Meanwhile this was the state of the train depot, tracks laid roughly in place but nothing else:
For a more recent view (albeit in the other direction) see Layout progress, 2019-12-30 (part 2).
Since the above shot I've rearranged the lower lines, so the incline just visible in the centre-rear runs in the opposite direction. As part of the rearrangement, the bit of scenery with the bare rock face has been transported to the other end of the layout, visible here.
Tuesday, February 4, 2020 9:18 AM
Nothing spectacular - a return to the hilly scenic area on the left-hand side of the layout (here removed to the workbench for comfort), filling in various gaps between the bits of hill. Some of these vegetation-covered scenic sections have been salvaged from an earlier layout attempt and I'd previously cut them more-or-less to shape, but there were still some ugly gaps and exposed ground-forming bits of foam.
Adding plaster cloth to fill in the gaps (1)
Adding plaster cloth to fill in the gaps (2)
Plaster cloth painted green/brown and some mixed scenic scatter scattered onto the paint before it dries, to provide a base ground cover
Friday, January 31, 2020 1:20 PM
In clockwise order, starting at the top:
- A Kato Marunouchi Line 500/300 series bookcase (empty)
- A Kato 205 Series Musashino Line bookcase (empty)
- A Tomix ED61
- A Kato 205 Series Musashino Line end car
- A Tomix ED75

Sunday, January 19, 2020 2:17 AM
An ad-hoc collection of links with information and pictures of Berlin's railways in the late 20th century.
Tuesday, January 14, 2020 11:20 PM
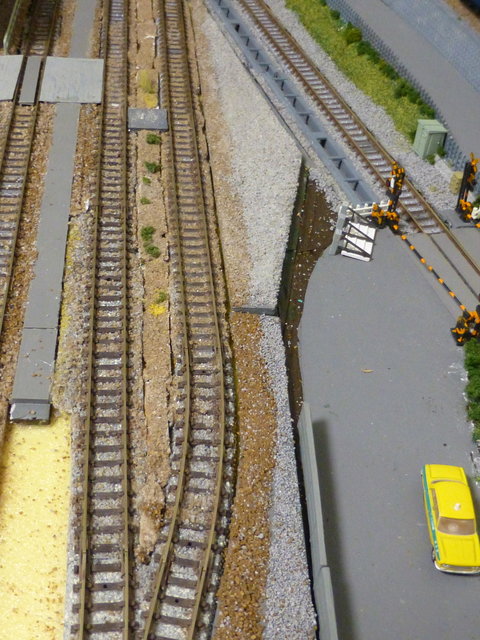
As mentioned in the previous post, the gap between the extended road section, which is slightly elevated, and the rails (which are at "ground level") needs filling - this is how it looks now:
, 2020-01-14")
I'll use some GreenMax stone embankment sheeting to cover the transition.
Meanwhile, looking back in the other direction:
Monday, January 13, 2020 11:55 AM
As of Friday January 10th 2020, all E231-500 series sets have been withdrawn from the Yamanote Line and the replacement with E235 series sets is complete (though some of the additional and relatively new E231-500 series cars ordered to replace the 6-door cars have been integrated into the E235 sets).
This is my pair of N guage E231-500 sets, on the left the Kato version (catalogue number 10-890) and on the right the MicroAce version (catalogue number A4070):
The Kato version is the newer and better of the two, particularly when seen from the front. The MicroAce version does however have some details it does better than the Kato one, such as the front skirt (the narrow white supports on the left and right on the Kato version should not be visible) and the door windows are not tinted (the Kato version uses one single coloured plastic sheet for the windows, the MicroAce one uses transparent plastic with coloured plastic added behind each large window).
Sunday, January 12, 2020 9:12 AM
It only takes a few simple steps to transform the brilliant white foamboard into something more road/railway-like - simply paint with grey acrylic paint, and where ballast is required, shake ballast over the still-wet paint. It sticks very well, and any surplus can be shaken off onto a sheet of paper for recycling
The gap between the new road section and the running line still needs filling in, slightly more complex as the road runs 3mm higher than the baseboard level so a separate ballast strip will be required.
Sunday, January 12, 2020 5:24 AM
Filling in a few more gaps in the "ground" on the left end of the lower-level station:
As elsewhere, using Tamiya 3mm foamboard to build up a "base level" up to about sleeper level on the Tomix track. Once cut to shape, each piece can be removed to do scenic work on it in the comfort of my own workbench, rather than bending over the layout. Not a very conventional method, but makes life a lot easier.
The segment on the left will become an extension of the road which currently ends in the foreground.
Sunday, January 12, 2020 12:42 AM
One of the perennial issues with N scale is laying ballast which doesn't look unplausibly oversized when viewed close-up (such as through the unforgiving lense of a digital camera).
The grey ballast here is Kato 24-331 (video in Japanese):
which is the finest ballast I've come across (I understand it's actually by Woodland Scenics) and doesn't look too bad, but still gives the impression the truck has driven up to the side of a river.
Assuming it's dried firmly in place, I've found vigorously rubbing it down with coarse sandpaper breaks down the individual ballast stones and smoothes it down giving something more akin to the "compacted ballast/aggregate" effect I'm after:
Treated (above) and untreated (below) in comparison:
Close-up of a treated section (left; the ballas next to the rails has not been treated yet):
Overall I'm quite pleased with the effect.


")
 - Kato and MicroAce sets")
, 2020-01-12")
, 2020-01-12")
, 2020-01-12")


")