Saturday, January 14, 2017
Dismantling a Tomix E1 power car (original tooling)
I recently acquired this very fine Tomix E1 Shinkansen, albeit as a 3 car set as part of a trainset pack ("SD Max 90010").
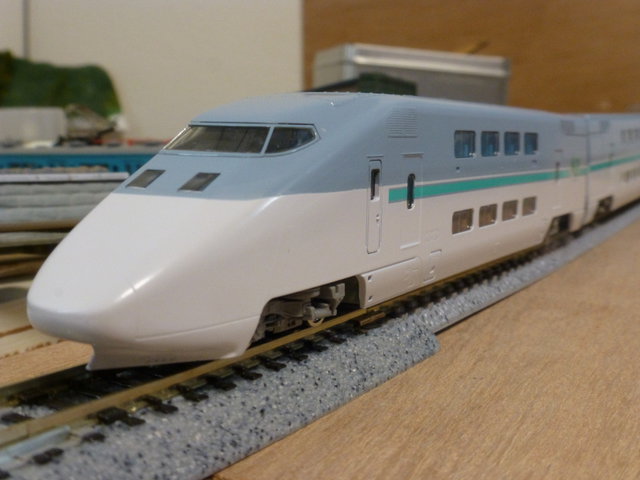
Despite being around 20 years old, the set was in excellent condition - except one of the couplings on the power car was broken, and as it's an integral part of the bogie, not simple to repair.
Fortunately Tomix provide replacement bogies (part number 0494), so I hoped it would be a matter of removing the original bogie and installing the new one. Not being sure how the bogies were mounted I decided to strip it down as far as possible.
Step 1: remove body - it unclips fairly easily.
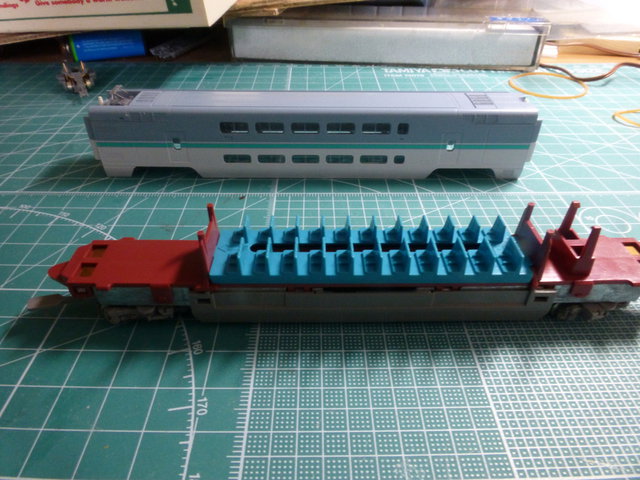
Step 2: remove grey undercarriage cover:
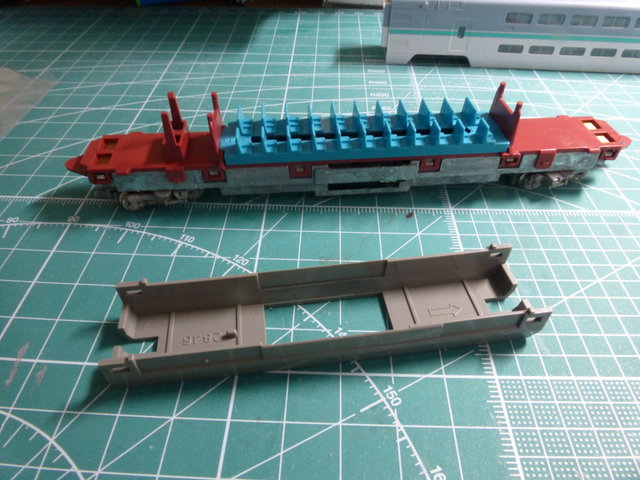
Step 3: remove interior/seating unit
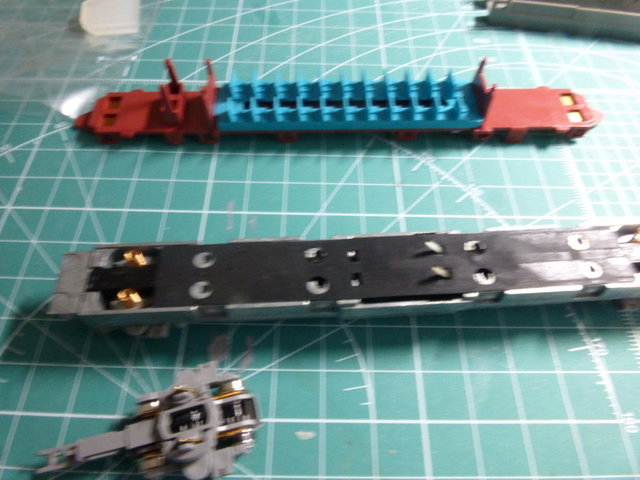
This turned out not to be necessary, but we see the chassis is covered by a membrane strip (similar to MicroAce units) to protect the motor and electrically inslulate the monobloc chassis.
Having got this far, it became apparent that being a monobloc chassis, the bogies are designed to clip in place, and are held in position by the circular plastic "lip" at the top of the bogie tower. They can be removed with a bit of careful twiddling.
So far so good, but it turned out the the replacement bogie (lower left in the above picture) is of a subtly different design, presumably for a newer version of the tooling for the Tomix E1, and while it could be coerced into place, it didn't really fit and was clearly not suitable as an as-is replacement.
All was not lost, however - a bit of work with some nippers and a pin vise enabled me to bodge the new bogie's coupling attachment onto the old one, which looks ugly but isn't visible when the train is coupled.
